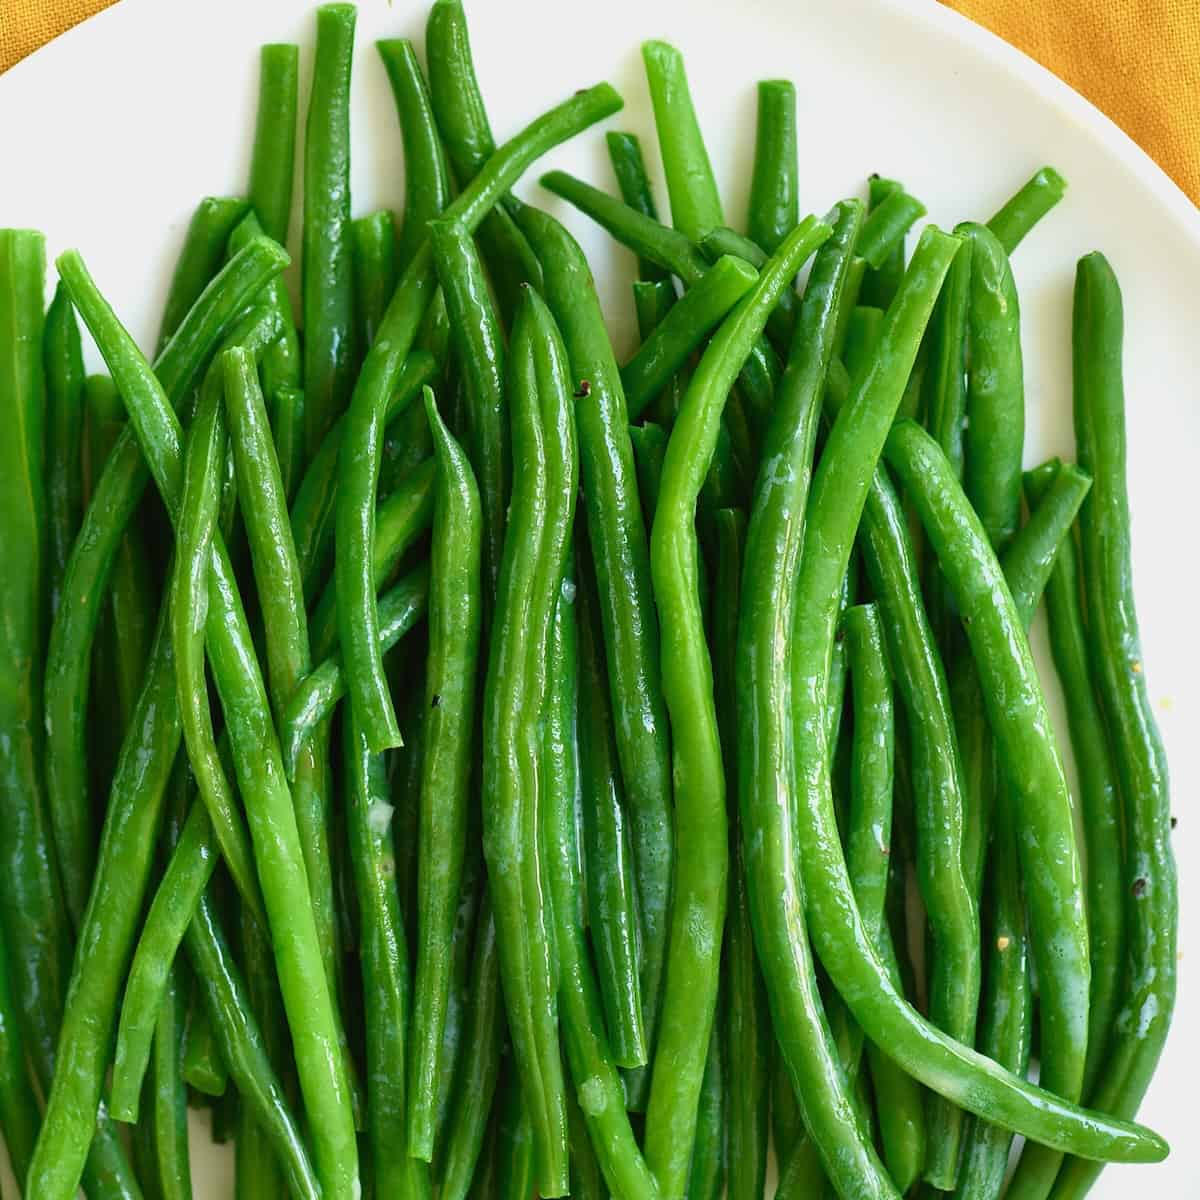
Mastering the Art of Boiling Green Beans: Fast, Flavorful, and Never Mushy
Green beans are a versatile and nutritious vegetable, a staple in countless kitchens worldwide. From a simple side dish to a vibrant addition to salads and casseroles, their fresh, slightly sweet flavor is a delight. However, achieving that perfect tender-crisp texture and brilliant green color can sometimes feel like a culinary challenge. Too often, green beans end up overcooked, limp, and dull – a disappointing outcome for such a fresh ingredient. This comprehensive guide will teach you precisely
how to boil green beans, whether fresh or frozen, ensuring flawless results every time. Say goodbye to mushy beans and hello to perfectly cooked, vibrant green goodness!
Boiling green beans on the stove is arguably one of the simplest and healthiest preparation methods. It locks in nutrients and brings out their natural flavor. With just a few simple steps and a keen eye on timing, you'll be a green bean boiling expert in no time.
The Essentials: What You'll Need & Why for Perfect Green Beans
Before you dive into the boiling process, gathering your tools and ingredients is crucial. Having everything at hand ensures a smooth and efficient cooking experience, leading to better results.
Equipment:
*
Large Pot: Essential for ample space. Using a pot that’s too small can lead to overcrowding, uneven cooking, and a steaming effect rather than a proper boil.
*
Colander or Strainer: For quick and efficient draining of the beans.
*
Tongs or Slotted Spoon: Useful for carefully adding and removing beans from boiling water, and for testing doneness.
*
Large Bowl & Ice (Optional but Recommended): For creating an ice bath, a key technique for achieving extra crispness and preserving color.
Ingredients:
*
Fresh or Frozen Green Beans: The star of our dish! We'll cover both.
*
Water: The primary cooking medium. Tap water is perfectly fine.
*
Salt (Optional, but Highly Recommended): A simple addition that makes a huge difference in flavor and appearance.
Choosing Your Green Beans: Fresh vs. Frozen
While both fresh and frozen green beans can yield excellent results, understanding their characteristics helps you make the best choice.
*
Fresh Green Beans: Look for beans that are bright green, firm, and snap easily when bent – a good indicator of freshness and crispness. Avoid those that are limp, bruised, or have large, bulging seeds, which can indicate older, mealier beans. Fresh beans offer the best potential for vibrant color and a truly crisp bite.
*
Frozen Green Beans: A fantastic convenient option, especially when fresh beans are out of season or when you're short on time. Modern freezing techniques lock in nutrients and flavor, making them a perfectly viable alternative. They require no prior washing or trimming.
Step-by-Step Guide: How to Boil Green Beans Perfectly
This foolproof method works for both fresh and frozen green beans, delivering consistent, delicious results.
1. Preparing Your Green Beans (Fresh vs. Frozen)
*
For Fresh Green Beans: Begin by rinsing them thoroughly under cold running water to remove any dirt or debris. Next, it's time to "top and tail" them. You can either snap off the tough, stringy ends by hand or use a sharp knife. Decide if you want to leave them whole for an elegant presentation or cut them into smaller, bite-sized pieces for easier eating. Cutting them into uniform lengths (e.g., 1-2 inches) ensures they cook evenly.
*
For Frozen Green Beans: No preparation needed! You can boil them directly from the freezer, saving valuable time.
2. Setting Up for Success
*
Fill the Pot: Pour enough cold water into your large pot to fully submerge the green beans once added. Using plenty of water helps maintain a consistent temperature when the beans go in, ensuring they cook evenly rather than steaming.
*
Heat the Water: Place the pot on the stove over high heat. To bring the water to a rolling boil faster, cover the pot with a lid.
*
Salt the Water: Once the water is at a vigorous rolling boil, add 1-2 teaspoons of salt per quart of water. Think of it like pasta water – generously salting the water not only enhances the beans' natural flavor but also helps them retain their bright green color.
3. The Boiling Process (Timings are Key!)
*
Add the Beans: Carefully place the prepared green beans into the boiling water. Use tongs or a slotted spoon to gently submerge them if needed.
*
Boil Uncovered: Let the beans boil uncovered. While covering helps bring the water to a boil initially, keeping it uncovered during the cooking phase allows steam to escape, preventing overcooking and maintaining their vibrant hue.
*
Monitor Cooking Times: This is where precision matters most to avoid mushy results.
*
Fresh Green Beans: Typically take between 4 to 6 minutes to become tender-crisp.
*
Frozen Green Beans: Generally require slightly longer, about 5 to 7 minutes, as they start from a frozen state.
*
Test for Doneness: After the minimum recommended time, remove a single bean with tongs and test it. It should be tender enough to bite through easily but still have a slight snap or crispness. It should *not* be soft or mushy. Trust your taste buds!
4. Draining & The Ice Bath (Optional but Recommended)
*
Immediate Draining: As soon as your green beans reach that perfect tender-crisp stage, immediately drain them using a colander or strainer. The residual heat will continue to cook them if left in the hot water.
*
The Ice Bath (Blanching): For truly vibrant color and extra crispness, plunge the drained beans into a large bowl filled with ice water. Let them sit for 2-3 minutes. This process, known as blanching, instantly stops the cooking process, "setting" their brilliant green color and firm texture. After the ice bath, drain them thoroughly again.
Fresh vs. Frozen Green Beans: A Quick Comparison
Both fresh and frozen green beans have their merits when it comes to boiling.
*
Fresh Green Beans: Offer the ultimate potential for flavor and texture. When perfectly cooked, they have an unparalleled crispness and a brighter, more intense green color. They do, however, require a bit more effort in terms of washing and trimming.
*
Frozen Green Beans: Provide incredible convenience. They are pre-cleaned and pre-cut, ready to go straight from the freezer into the pot. While their texture might be slightly softer than perfectly cooked fresh beans, they are a fantastic, healthy, and time-saving option, especially for weeknight meals. The boiling times are only marginally longer.
Ultimately, the choice depends on your priorities: for peak flavor and texture, go fresh; for ultimate ease and speed, frozen is a superb choice. Either way, following these steps will ensure delicious results. For more in-depth techniques, you might find
How to Boil Green Beans: The Ultimate Guide for Crisp, Vibrant Veggies a useful resource.
Common Mistakes & Expert Tips for Flawless Results
Even with a simple task like boiling, a few common pitfalls can ruin your green beans. Avoiding these mistakes and incorporating some expert tips will elevate your dish.
Common Mistakes to Avoid:
1.
Using Too Little Water: This is a frequent culprit for unevenly cooked or steamed beans. The beans should have enough room to move freely in the boiling water.
2.
Not Salting the Water: Bland beans are a common complaint. Salt not only seasons the beans from the inside out but also helps maintain their color.
3.
Overcooking: The cardinal sin! Overcooked green beans are mushy, dull green, and lose much of their nutritional value and appeal. Always err on the side of slightly undercooking and testing frequently.
4.
Skipping the Ice Bath (for crispness): If you want truly crisp, bright green beans, don't skip this step. Without it, residual heat continues to cook the beans, making them softer and duller.
Pro Tips for Perfection:
*
Uniform Cuts: If cutting fresh green beans, try to make them all roughly the same length. This ensures they cook at the same rate, preventing some pieces from being overcooked while others are still raw.
*
Boil Uncovered: As mentioned, cover the pot to bring water to a boil faster, but remove the lid once the beans are added. This helps prevent overcooking and preserves color.
*
Fresh Water Always: Always start with fresh, cold water.
*
Flavor After Boiling: Once your green beans are perfectly boiled and drained, that's when you add your flavorings. A simple pat of butter, a drizzle of olive oil, minced garlic, a squeeze of lemon juice, or a sprinkle of fresh herbs (dill, parsley, thyme) can transform them. Even a dash of toasted sesame oil and sesame seeds adds an unexpected twist!
*
Batch Cooking: If boiling a large quantity, consider working in batches to avoid overcrowding the pot, which can lower the water temperature and lead to steaming.
*
Seasoning Salt: For an extra layer of flavor, consider using a high-quality sea salt or a seasoned salt in your boiling water. For more secrets to vibrant color and texture, check out
Perfectly Boiled Green Beans: Secrets for Vibrant Color & Texture.
Conclusion
Boiling green beans is a fundamental cooking skill that, once mastered, opens up a world of culinary possibilities. By understanding the importance of proper preparation, ample water, precise timing, and the optional (but highly recommended) ice bath, you can consistently achieve perfectly tender-crisp, vibrant green beans that are far from mushy. Whether you choose the freshness of seasonal produce or the convenience of frozen, these techniques ensure that your green beans are always a highlight on your plate. So go ahead, grab your beans, and boil them to perfection tonight!